I've been thinking for a while that it's time to slow my life right down and take a few steps back. Make a better balance between life and work.
I've decided to disable my blog, and my twitter account, I'm not saying I'll never be back, but I think it's quite unlikely. At least for the foreseeable future. And before anyone thinks I'm having a breakdown (MUM????) I'm not, I just want my life back and it's probably a perfect time, with the shift in my personal life and the new house and everything else. I don't have the time to sew so much any more, and that's a real shame, so I want to do more of that, and less of the social media stuff.
So, thank you for being there and reading my blog and following me and taking the time to comment. I appreciate it more than you could ever know. For now I'll still be on instagram, @imagingermonkey, so follow along if you would like and if you see me in the street, say hi!


watch me!

Aurifil thread anyone?


let's go shopping!

fabric and more!

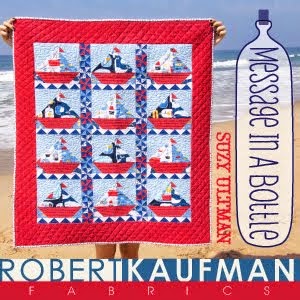
New from Robert Kaufman...
fabric and more!
solids and more!

I love fabric


Blog designed by
